Master the 3-point lighting technique and learn how to create professional videos with balanced light, depth and visual highlights.
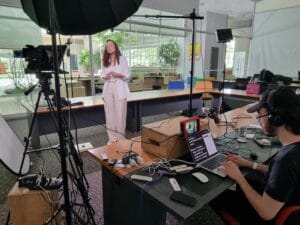
Good lighting is essential for professional video production. Among the various techniques used, 3-point lighting stands out for being efficient and widely used in interviews, testimonial videos and even in film productions. With this technique, it is possible to ensure that the object or person is lit in a balanced way, creating volume, depth and visual prominence.
In this article, we’ll explore how the 3-point lighting technique can improve the quality of your videos, as well as provide practical tips for implementing it in your productions.
3-point lighting is a system that uses three different light sources, strategically positioned to illuminate the object in a balanced way. These three lights are called:
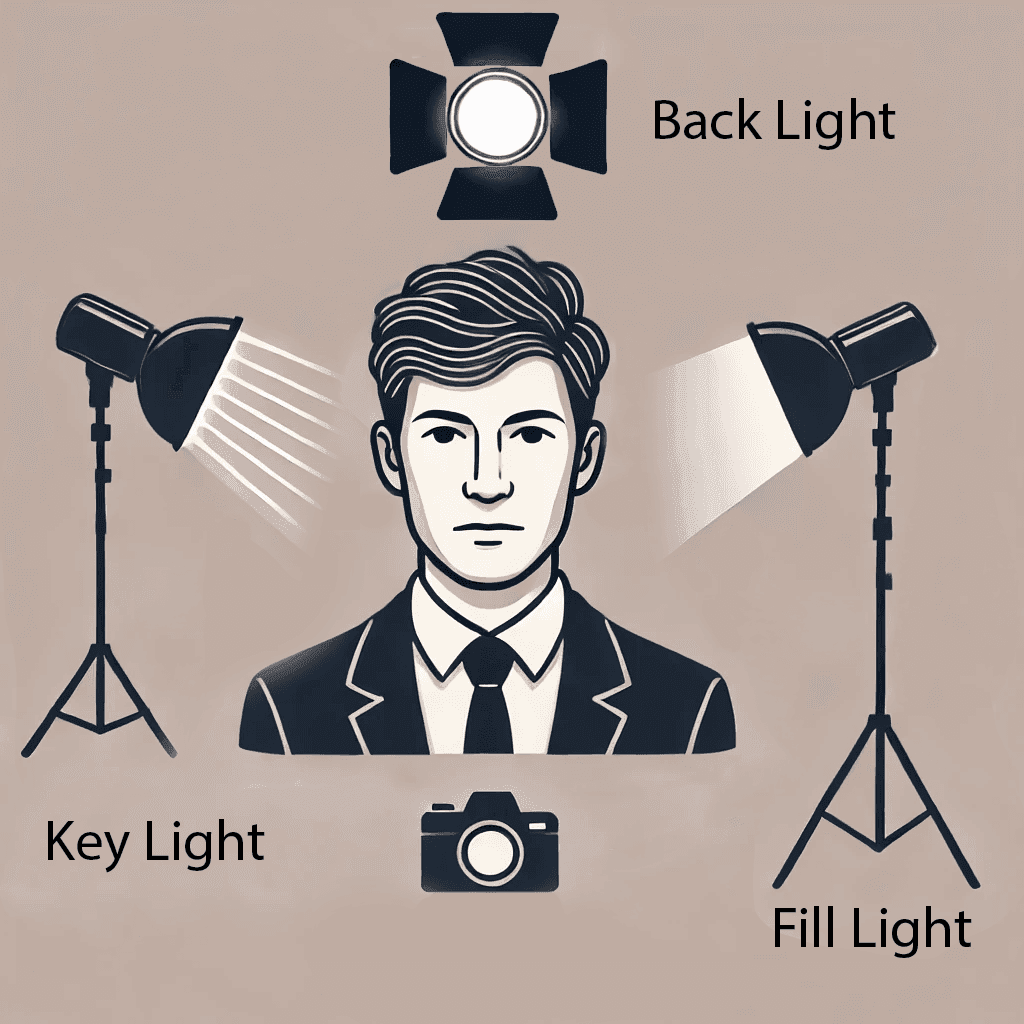
Each of these lights plays a key role in creating the desired atmosphere and effect in the video.
The Key Light is the strongest and most important light in the three-point system. It is usually positioned at a 45-degree angle to the subject, illuminating the most visible side of the scene. Its purpose is to create contrast, highlight the subject, and set the overall tone of the lighting.
Practical tip: Avoid positioning the Key Light directly in front of the subject, as this can eliminate shadows and make the lighting “flat”. A 45-degree angle allows for more natural shadows and enhances the contours of the face or subject.
The Fill Light's function is to soften the shadows created by the Key Light. It is usually positioned opposite the Key Light and with lower intensity. Its purpose is to ensure that the shadows are not too harsh, maintaining the balance in the lighting of the video.
Practical tip: The Fill Light should be set to a lower intensity than the Key Light, somewhere between 50% and 75%, depending on the desired result. Experiment with adjusting the distance between the light and the subject to control the amount of shadow filling.
Backlighting is placed behind the subject, often at an upward angle, and serves to highlight it from the background, creating a subtle outline around the person or object being filmed. This helps to create a sense of depth and separation from the background, making the video more visually interesting.
Practical tip: Don't overdo the Back Light intensity to avoid creating an excessive outline. A soft light is enough to create the desired separation between the object and the background.
The 3-point lighting technique is essential for creating professional-looking, polished videos. By mastering this technique, you will be able to better control the light in your productions, highlighting your objects and adding depth to the video. To ensure the quality of your videos, count on Silvertake Video, specialist in capturing the essence of each project in a visually impactful way. Get in touch.
Request a Quote